Night Street Photography: How To Do It
-
 Loading...
 - Alden Murray
- 14 Jan 2022
- 585 Views
- 0 Like
- 0 Comment
When you go out at night and look around in streets across the world, you should be able to observe a different ambience and a totally different mood prevailing in the area after sunset. It is also one of the times to capture images that look different and interesting when it comes to street photography and these cannot be captured during the daytime.
Here are some tips and ideas to capture stunning street photographs at night:
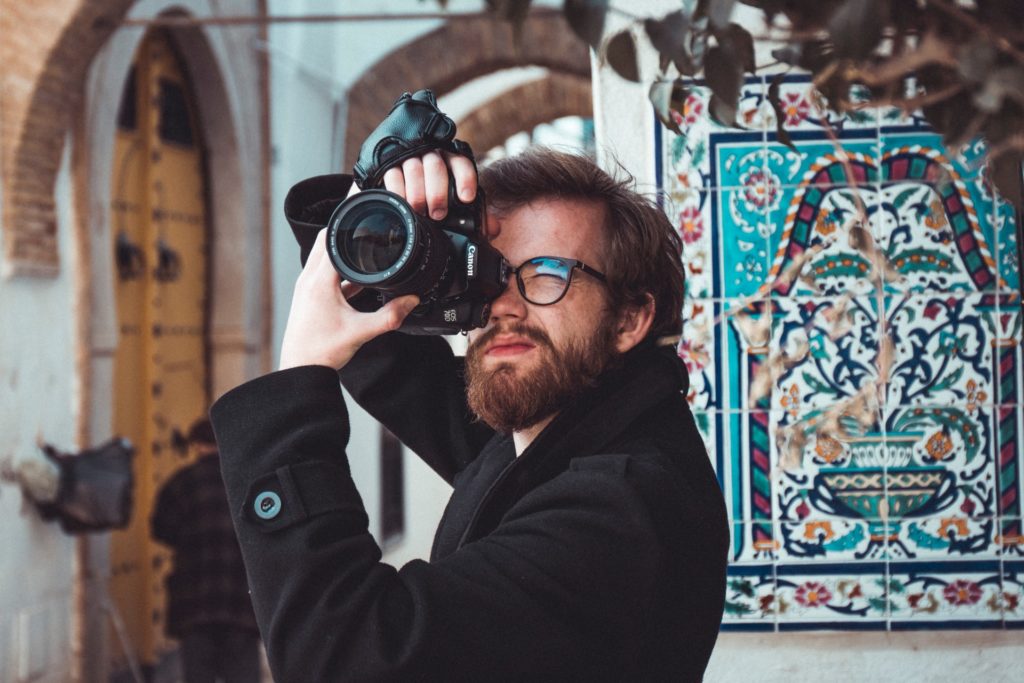
Gear For Night Street Photography
When capturing images at night, especially in the streets, there are many light scenarios that the photographers will come across. Some areas are better lit than other areas. Some areas can be really dark that the cameras are really limited for light and hence the photographer will have to really push the limits of the camera to get a decent exposure and details in the photograph.
So for night time street photography, photographers need to pay attention to the gear that they wish to use. Here are some factors to keep in mind:
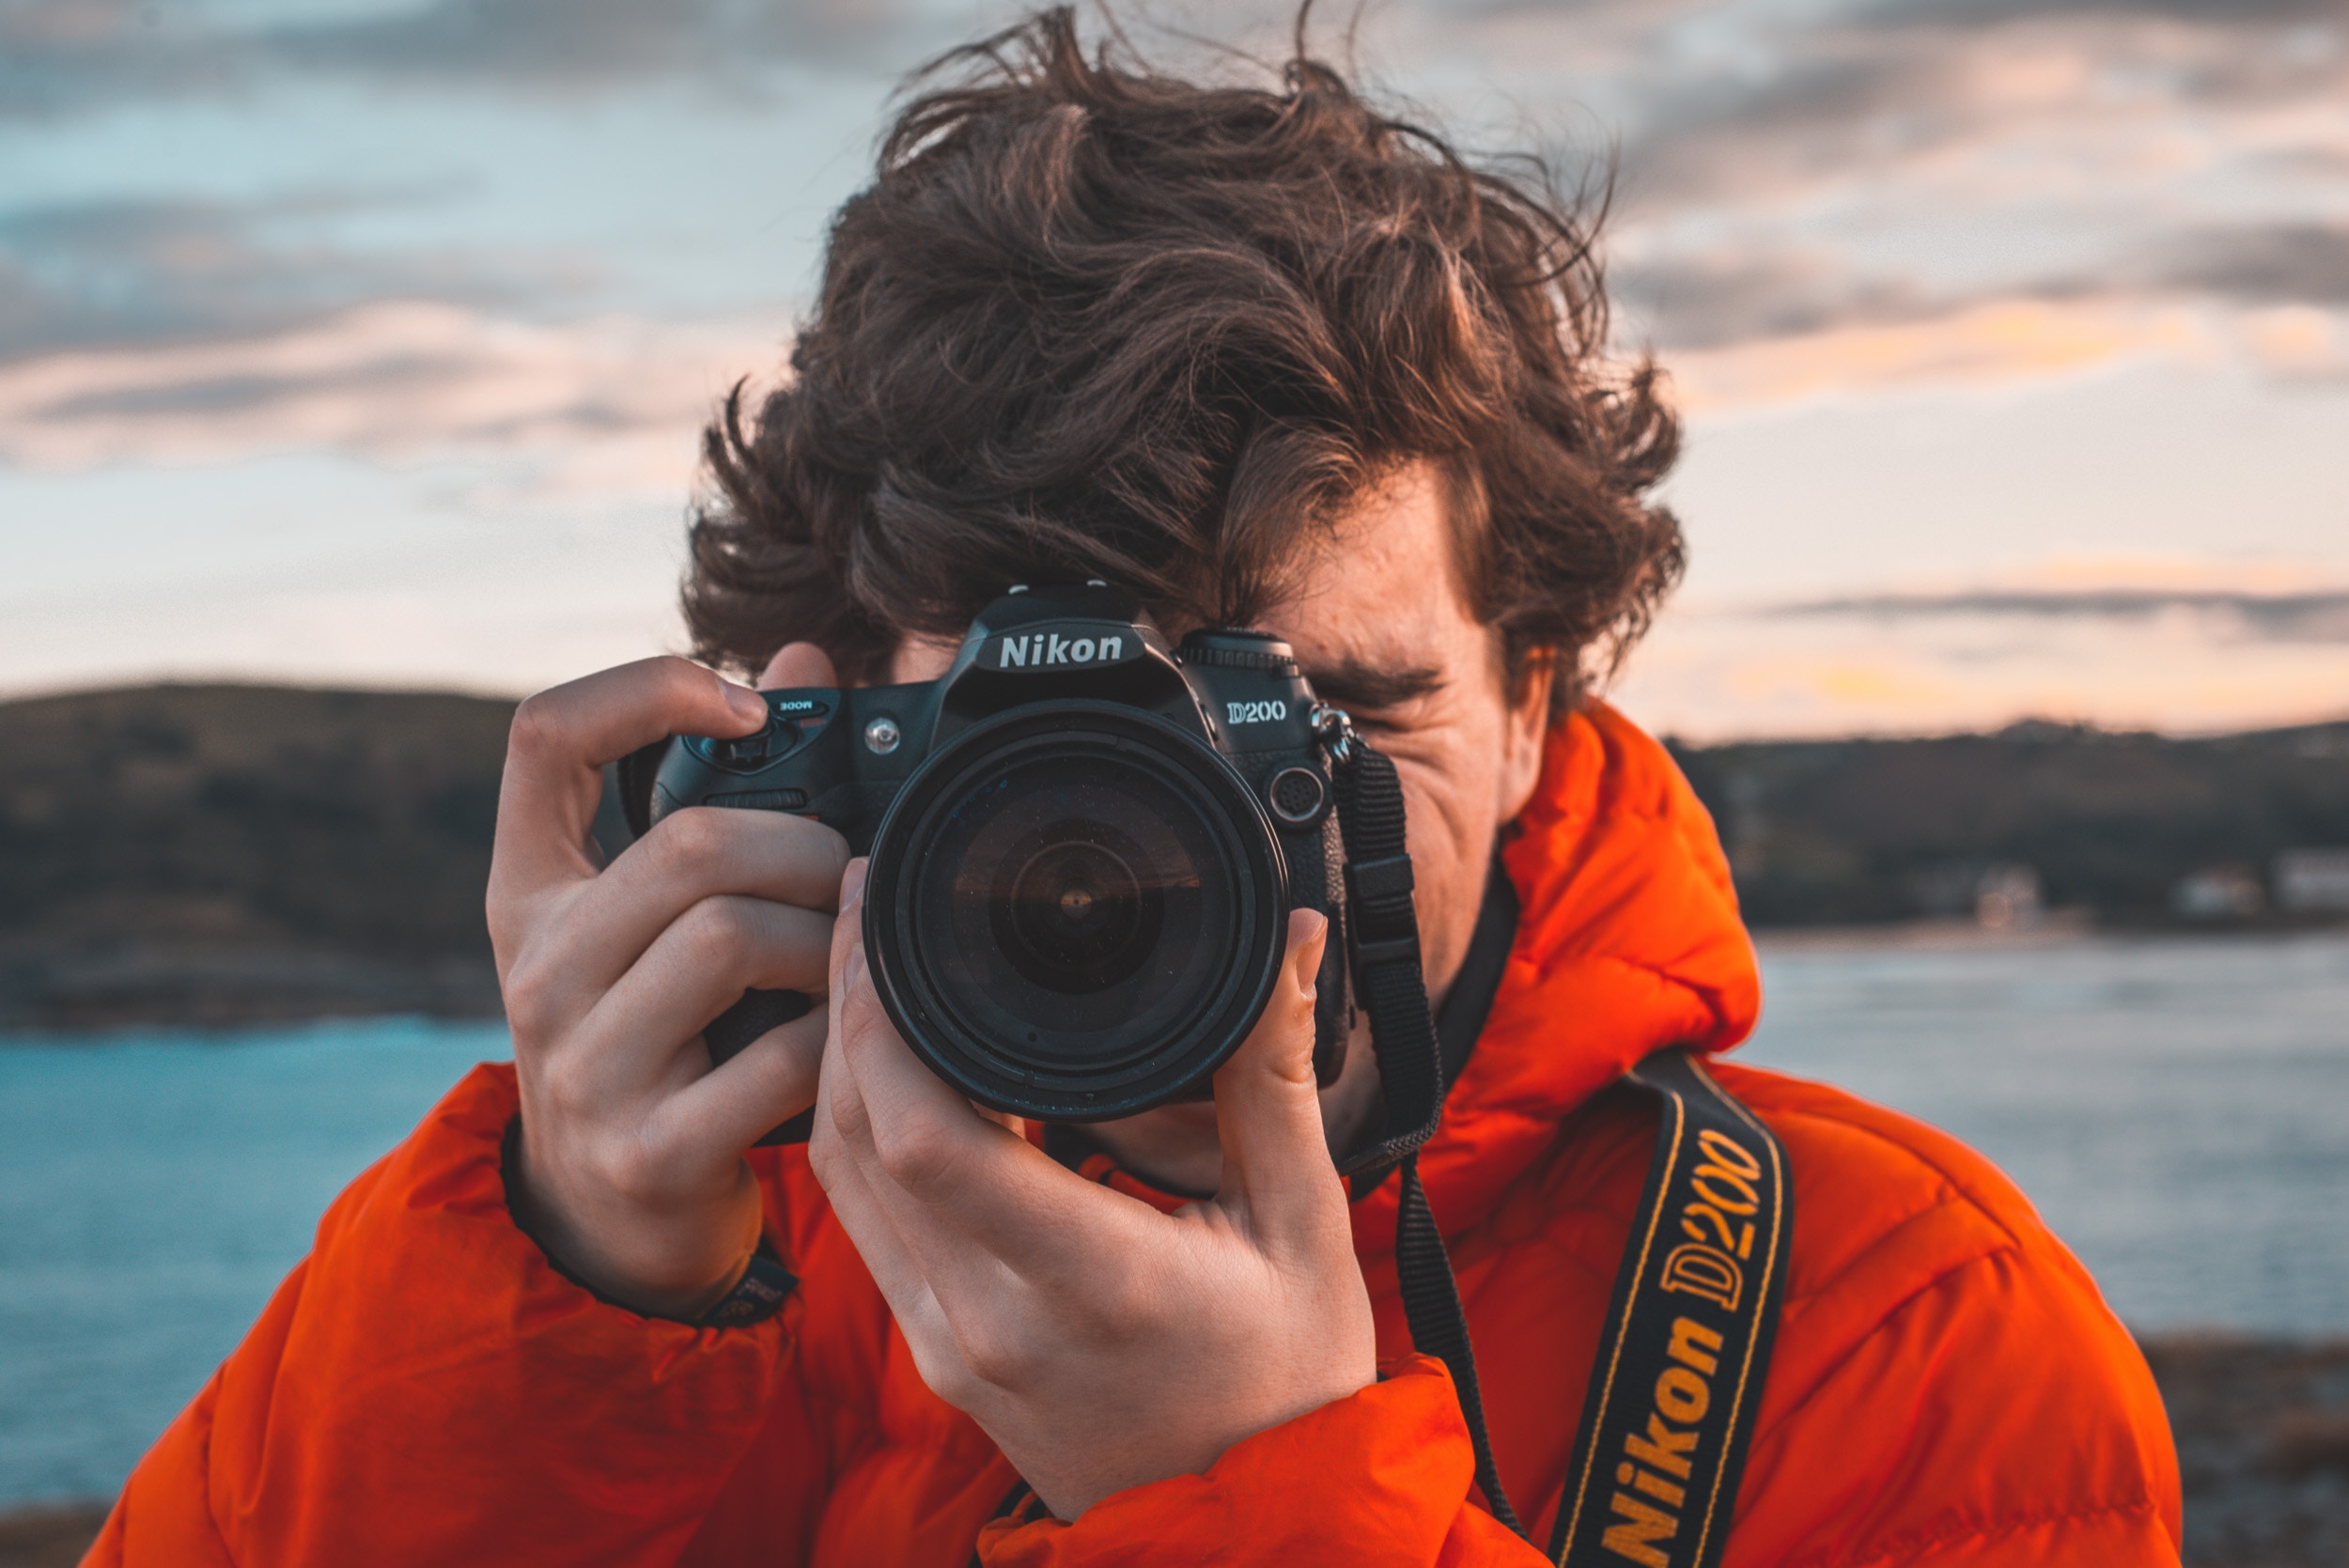
Cameras:
· Any camera that you have that will allow you to shoot in manual mode will be fine for night time street photography. This can be a DSLR, mirrorless (full frame or APS-C) or even a compact camera with manual settings.
· If you can afford, it will be great to have a camera that will perform well at low light and high iso.
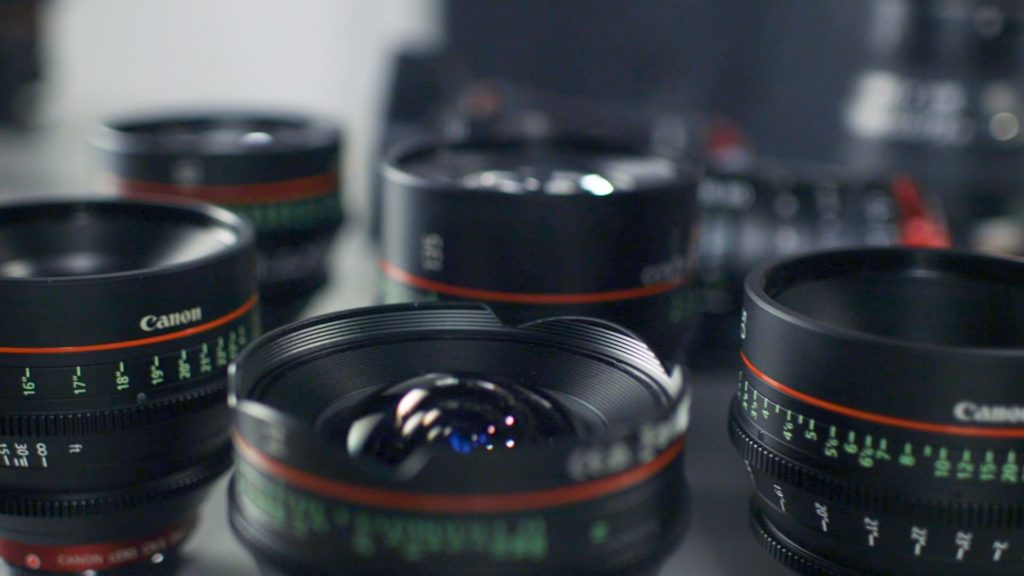
Lenses:
· Lenses are what control the light entering the camera and hence more importance needs to be given to the kind of lens that you will be using. Prime lenses are faster than zoom lenses and tend to produce better image quality comparatively.
· Another great advantage of using prime lenses is that they have wider apertures compared to most zoom lenses, which means they can let in more light comparatively and hence will be a great choice for night time street photography.
· Depending on your style of photography, whether you shoot wide or zoom in, there are various lenses that can be used for night time street photography. Some of them are, the 24mm f/1.4 for wide shots, 35mm f/1.8 and 50mm f/1.8 which are most commonly used for street photography, then the 85mm f/1.8 for slightly zoomed in shots, especially if you are looking to capture street portraits at night.
· Some photographers may use zoom lenses like the 24-70mm f/2.8 and even the 70-200mm f/2.8 for street photography as they give a good focal length range for a variety of street photographs, but the 70-200 can be quite heavy for street photography.
Other Accessories:
· In night time street photography, you will be limited for light and for certain shots you may need to stabilise your camera. In these situations, you will need to use a tripod of some sort so you can get away with slower shutter speeds for the desired exposure. Remember that anything moving in the frame will turn out blurry when working with quite slow shutter speeds.
· A gorillapod is a better option as it is small, lightweight and easier to carry around. A tripod is a good option too as long as you are happy to carry it around. You should look for a lightweight carbon tripod for night time street photography.
· Having a tripod to shoot at night in the streets can help to capture creative street photographs that you will not be able to capture during the daytime. You can capture some dynamic photographs that have movements recorded in them so you can tell an interesting story. It could be the lights or even the movement of people.
Remember that if you are a beginner and have only your camera along with a kit lens, you may have some limitations depending on the available light and other conditions. You can still capture street photos at night with the gear that you have, so make sure that you use it on manual mode and use it at its best for brilliant night time street photographs. Do not forget to use your kit lens at the widest aperture value to capture night time street photographs.
If you are someone who may have just started photography with just a smartphone and may upgrade later, you can still use the device to capture street photographs at night. Smartphone cameras these days are good at capturing low light images and they even come with an intelligent night mode, that will help with capturing night time street photographs. If you have manual settings, make sure to use that at night for good quality night time street photography.
Camera Settings For Night Street Photography
Camera settings are very important when shooting street photographs at night. You might get away with the settings when shooting the streets during the day, but at night you have to pay utmost care and importance to the settings to get great results.
· It is good to shoot in manual mode at night so you have total control over the exposure of the image.
· Always shoot raw so you can get the most details out of an image. This is especially important for low light photos.
· In order to control the exposure creatively, you need to have a good understanding of the exposure triangle. The aperture, shutter speed and iso are the three factors that affect exposure and adjusting these to get the desired and creative exposure is very important.
· Set the lens to the widest aperture possible. If you have a lens with a very wide aperture like f/1.4 and you are worried about sharpness issues because of slight error in focus, close down the aperture to f/1.8 or f/2. But when shooting scenes or people who are really far away from the camera, there should not be much issues with sharpness.
· Aperture also decides the depth of field, so having wider aperture values means, you can capture beautiful bokeh in the night street images. If you wish to show more of the environment in the background, then you will need to close down the aperture to f/4 or f/5.6. Remember, this will reduce the amount of light entering the camera.
· Shutter speed is what dictates whether we capture movements or freeze movements in a scene and it also decides the blur due to hand shake. So if you are handholding the camera, it is advisable to stay at about 1/125s. If you want to go slower, it is always good to stay faster than 1/focal length taking into account the crop factor of the camera.
· Now based on the above settings for aperture and shutter speed, set the iso for desired exposure. Depending on these values, you may have to shoot at slightly higher iso values.
· Remember to get the shot even if it means shooting at very high iso.
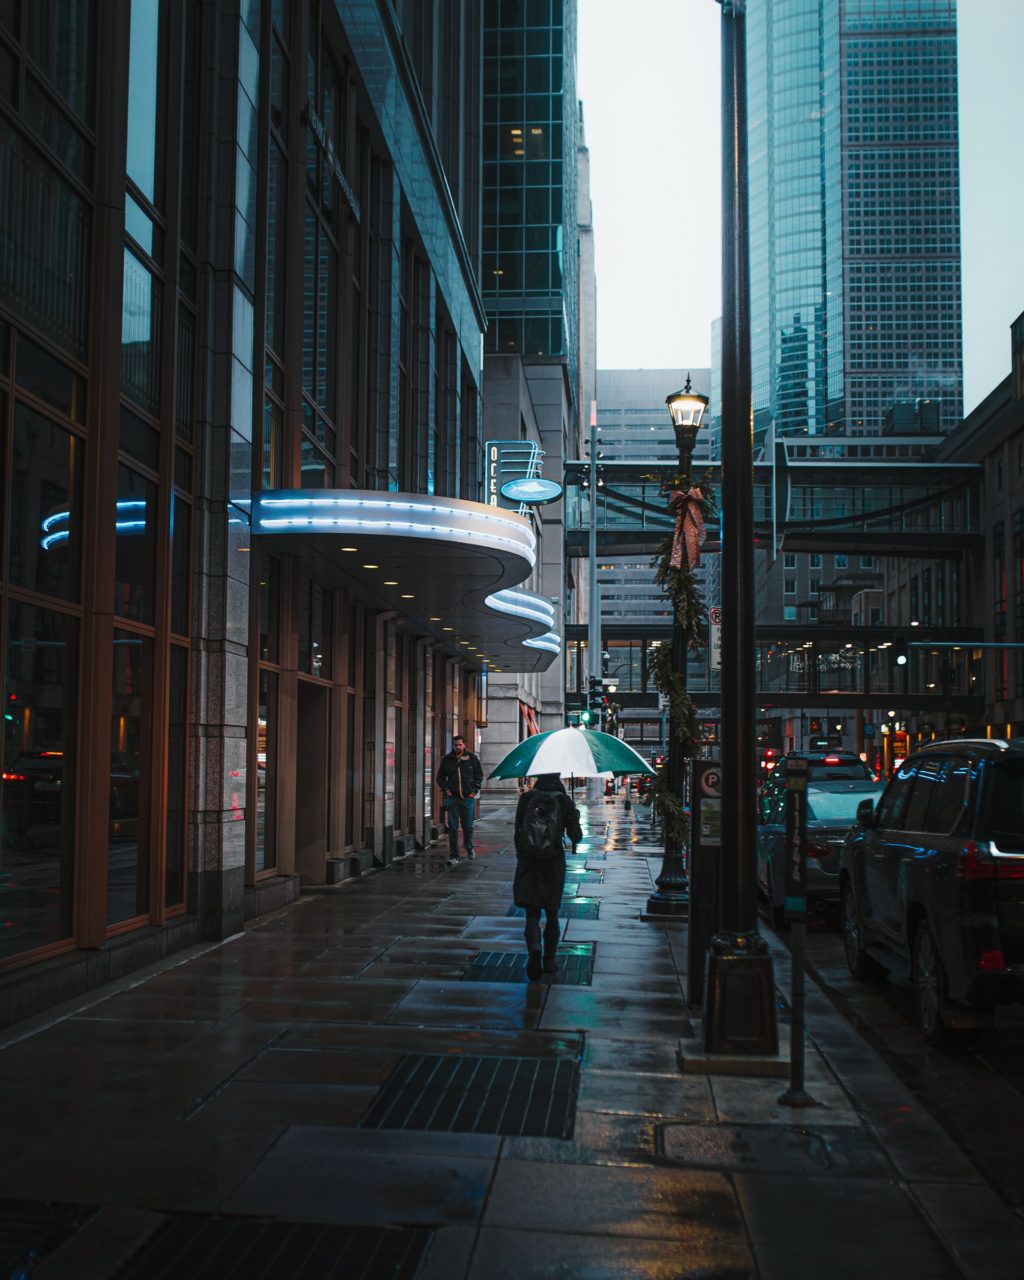
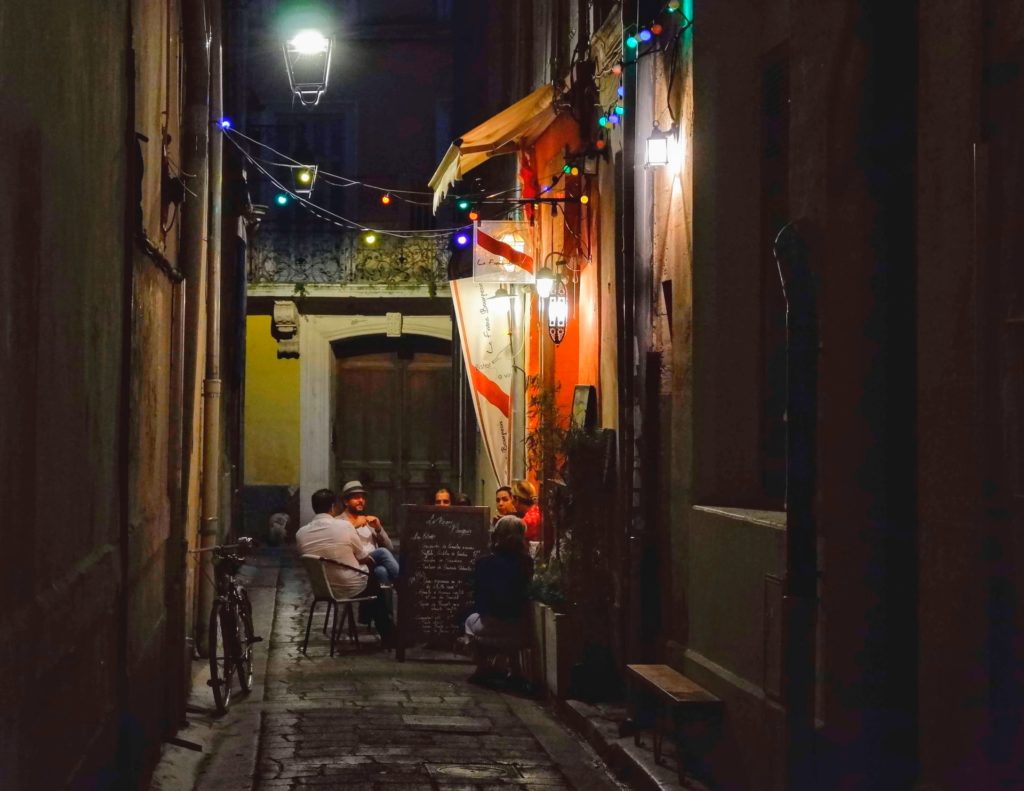
Using Ambient Light When Photographing The Streets At Night
Most photographers love shooting in natural light, but at night, you do not have any light from the sun and the only light we can make use of for street photographs at night is the ambient light in the scene. This can be from buildings, street lights, shop windows, vehicles, etc., especially if you are shooting in a city.
Ambient light can be in all forms and colours which makes street photography at night even more colourful with a different mood. When capturing a scene or subject, using the lights around from shops, buildings, street lights, etc., it can sometimes be illuminated with more than a source of light with different colours. Look around to see which light you want to illuminate your subject with and based on that you have to move around to get the shot. If this is not possible, capture the shot and then try to make edits when post-processing but this can be quite tough to do.
Another kind of light that you can use is traffic lights. These lights can be interestingly used to illuminate your subjects or the scene you are photographing. Look how light falls on your subject. Use them from the side or behind to capture images that are dramatic and interesting with more depth. Read More…