10 Quick Tips to Instantly Improve Your Landscape Photography
-
 Loading...
 - Petra Vogel
- 26 May 2023
- 68 Views
- 0 Like
- 0 Comment
If you're new to the realm of landscape photography and seeking ways to enhance the quality of your shots, take a moment to peruse these valuable tips that will serve as a guiding light, inspiring you to capture breathtaking landscapes. Here, we present ten rapid landscape photography tips aimed at assisting you in capturing superior landscape shots, incorporating aspects that you may not have previously considered, such as effectively utilizing negative space and seeking natural frames.
Employ a Tripod
A tripod is an indispensable tool that no landscape photographer should venture without. Not only does it minimize camera shake and facilitate the creation of captivating blurred water effects, but it also compels you to slow down, enabling you to carefully contemplate the scene before you. As a result, your composition skills will improve. Additionally, using a tripod allows you to remain stationed in one spot for a longer duration, freeing you from the burden of supporting the weight of the camera and lens. This grants you the opportunity to patiently observe the changing light, shifting clouds, or the sun gracefully descending below the horizon, until the perfect moment for capturing your desired image presents itself.
Embrace Lines and Shapes
Train your eye to recognize shapes, lines, or patterns that can infuse direction, interest, and depth into your photographs. These can take various forms, such as pathways, fences, intricate patterns on a frozen lake, or extensive rows of trees.
Embrace Negative Space
When utilized effectively, the empty spaces you intentionally leave within your shots, known as negative space, can render your photographs more captivating and easier to focus on. Instead of striving to fill every inch of the frame with subject matter, allow negative space to play a purposeful role.
Seek Out a Frame
Frames, when used judiciously, can draw the viewer's attention to the main subject. Frames need not be complete or encompass the entire scene; even a dangling branch, for instance, can successfully guide the viewer's eye. Be on the lookout for natural arches created by paths of trees or blurred leaves and hedges that can serve as out-of-focus frames.

Alter the Horizon Placement
In addition to maintaining a level horizon, avoid positioning it at the exact center of your frame, as this often results in a mundane, divided image. When the sky boasts vibrant colors, lower the horizon to capture more of it. Conversely, if the land takes center stage, raise the horizon to diminish the amount of sky. Of course, there are instances where this rule may not apply, but it is a consideration to keep in mind while setting up your shot.
Emphasize Scale
By including an object in your photograph that provides a point of reference for scale, viewers can better comprehend the vastness and grandeur of the landscape, ultimately intensifying the impact of your image.
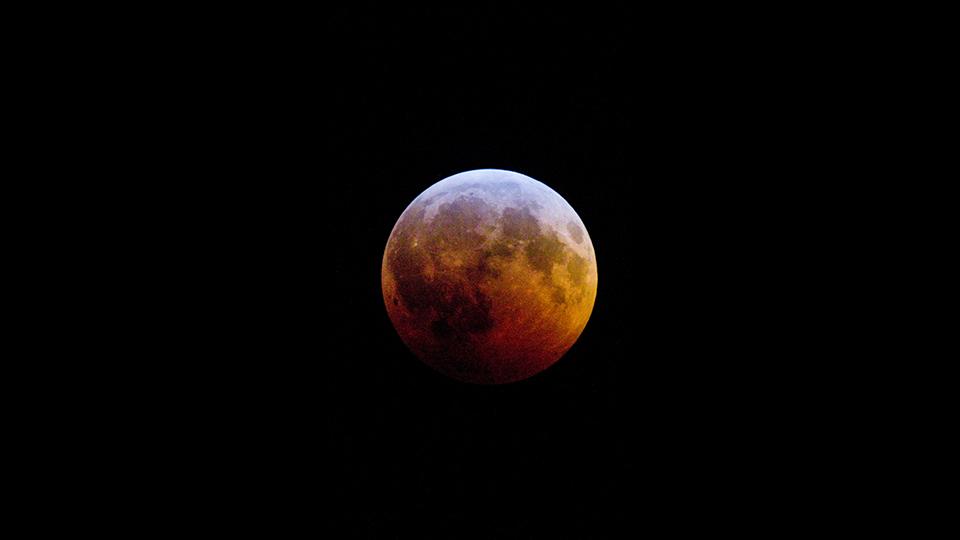
Fascinating Skies Add Depth
Whether it's captivating cloud formations, an approaching sea storm, or a breathtaking sunset, the sky serves as a remarkable element for infusing additional interest into your landscape shots. Do not shy away from inclement weather, as brooding clouds can lend a unique twist to your landscapes, while windy days add a sense of movement to typically still scenery. Patience may be required to wait for the perfect lighting conditions, but the end result is worth the effort.
Seek Singular Subjects
A solitary subject within a wide expanse of landscape consistently yields striking compositions. A solitary tree, a weathered tractor, or a rustic barn are just a few examples that come to mind. Regardless of your choice, such subjects guarantee the creation of a visually impactful yet elegantly simple composition.

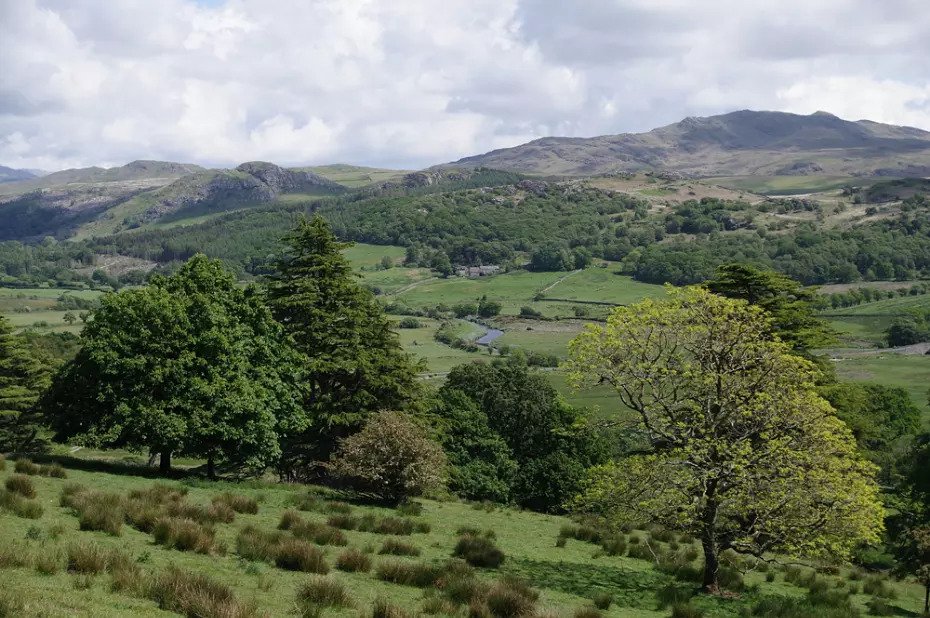
Create Depth and Dimension
Avoid leaving a vast expanse of uninteresting emptiness in the foreground of your shot, as this would result in a lackluster landscape photograph. To enhance your images, incorporate elements of interest in the foreground. By doing so, you will create depth, guide the viewer's gaze, and lend a three-dimensional quality to your otherwise two-dimensional image. If you find that the middle portion of your shot still lacks interest, consider shooting from a lower angle.
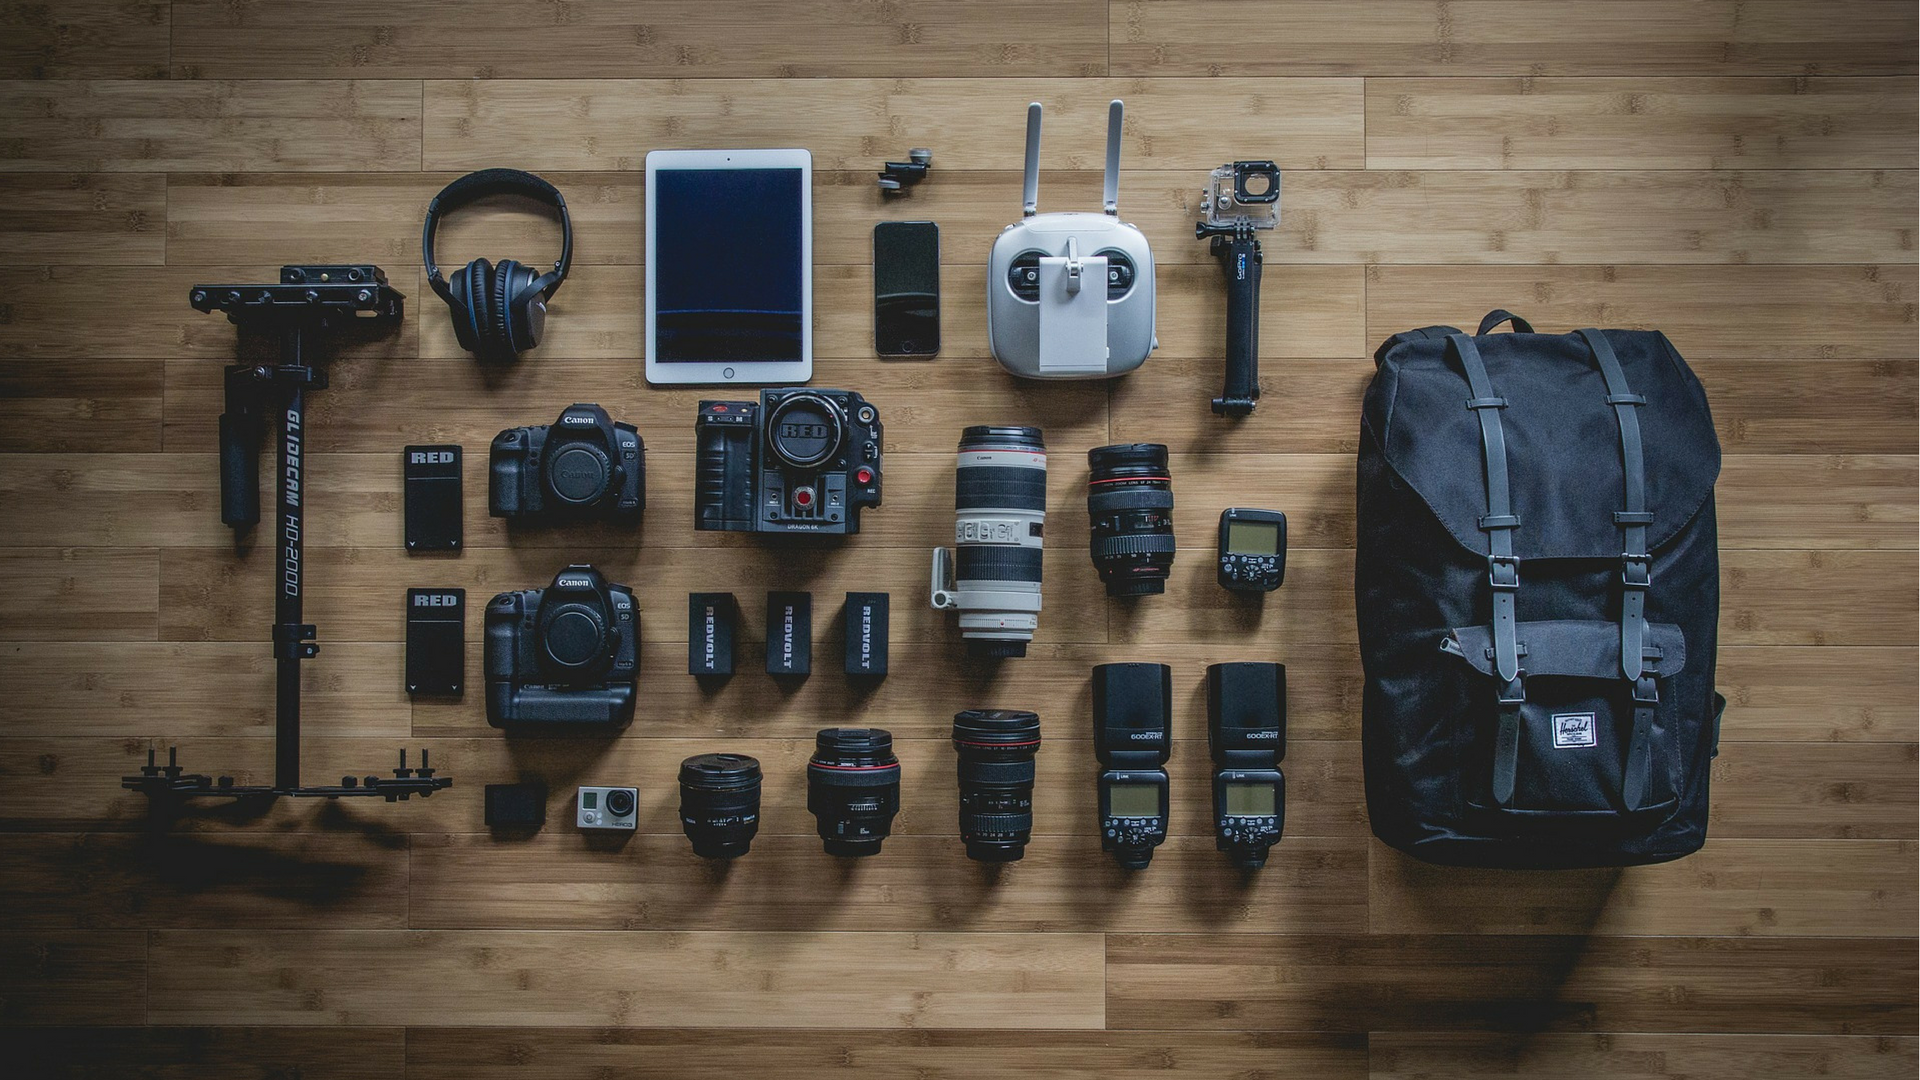
Filters Enhance Your Shots
If you decide to carry only two filters in your kit, make them a Graduated ND (Neutral Density) filter and a Polarizing filter. A Graduated ND filter helps achieve a balanced exposure, while a Polarizing filter intensifies colors, deepens blue skies, and enhances the vibrancy of foliage. Additionally, this filter aids in reducing reflections and minimizing the sheen on fur and skin.