What Is Focus Stacking in Photography?
-
 Loading...
 - Akinari Sato
- 22 Jul 2022
- 104 Views
- 0 Like
- 0 Comment
Focus stacking in photography is a technique that has been used for a long time across many genres, including macro, astro, and landscape. Whatever you photograph, learning how to focus stack will help you create pin-sharp images from front to back.
What is focus stacking?
Simply put, focus stacking is a digital image processing technique in which several images are taken, each focused on a slightly different point throughout the frame, and then aligned and merged together in post-production.
It is similar to high dynamic range (HDR) but, instead of changing exposures, we change the point of focus.
A focus-stacked image will result in a greater depth of field, with sharpness achieved in every part of the scene. Focus stacking is crucial when you find yourself in situations where you need to extend your depth of field beyond what is achievable in-camera.
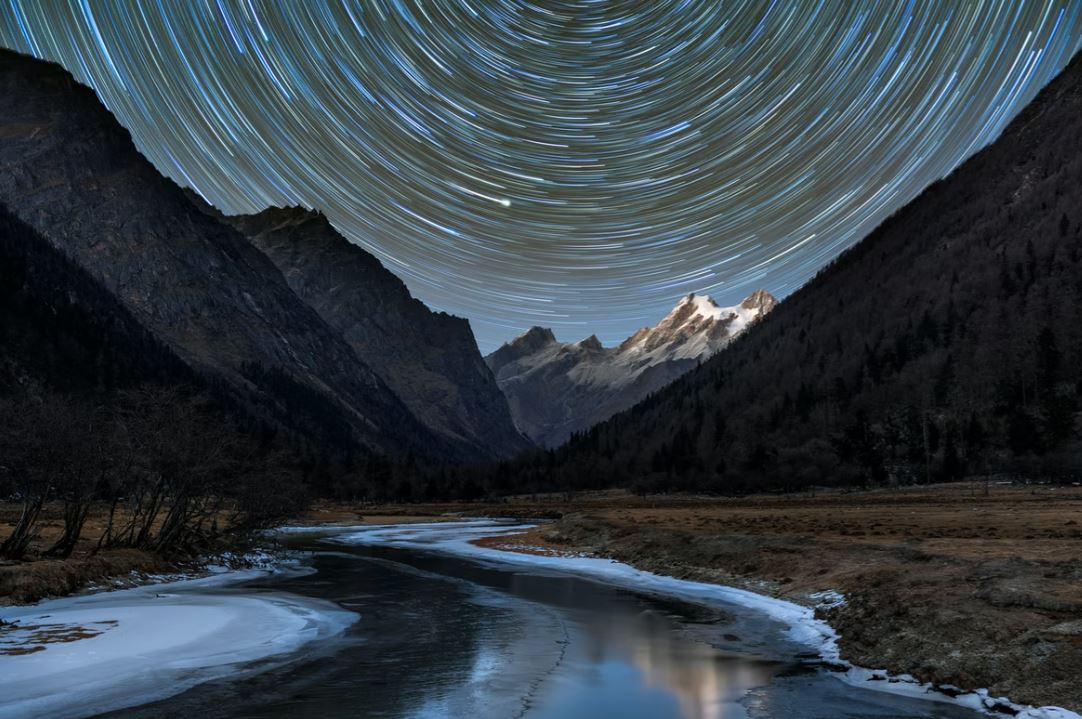
From ultra-close macro subjects to deep landscape scenes, focus stacking is a technique worth mastering for super-sharp images.
Whilst you won’t need to use this technique for every photograph you take, there are some scenarios where it is beneficial. These include when using an ultra-wide-angle lens with a subject close to it, macro photography in general, and scenes with a great distance between the foreground and background.
By focus stacking in these scenarios, you will ensure optimal sharpness throughout your composition.
How does focus stacking work?
Focus stacking in photography is a technique designed to achieve a greater depth of field by blending (or stacking) a series of images together. This requires the use of both your camera and post-production software.
Essentially, the photographer takes two or more shots of the same scene, each focused on a different point and then blends these shots together in Photoshop, or other dedicated software like Helicon Focus.
The software then identifies and uses the sharpest part of each shot to create one razor-sharp image file.
The number of shots you will need to take will vary depending on the focal length, aperture, and distance from the camera of the nearest object you want to keep sharp, but more on this below!
How to take photos for focus stacking
Whether you want to photograph a spider with a great depth of field, or you want to capture a sweeping landscape with tack-sharp focus from front to back, decreasing the aperture isn’t always enough to achieve the focus you are after.
One way to overcome this is by focus stacking your images, which as we now know is the technique of combining multiple frames, each focused on different points, into one final image.
Though there are small variations on how to focus stack depending on your subject (a beetle vs a sweeping landscape for example), the overall process is the same.
Focus stacking starts as any photograph does – choosing your subject and composition.
Mount your camera on a tripod to maintain the same scene throughout your shots. You can take hand-held images for focus stacking, but you will need to be more careful when maintaining the composition.
Next, set your exposure. Ideally, try to avoid changing the exposure as you will have to work harder to standardise exposure when blending images in post-production.
Once you are happy with your camera setting, you can start to shoot your series of images. Start by focusing on the nearest part of your scene. Take your first shot, and make sure not to change your settings or composition.
Now all that’s left to do is to take the remaining images, moving your focus incrementally across the scene from front to back.
If you are shooting lots of images on the same day/same memory card, it helps to use an image as a marker for when you start and finish your series for focus stacking. I tend to take a photograph with my lens cap still on the lens, creating a blacked-out image. I make sure to take one at the start and end of my series of images for focus stacking. Read More…