How to shoot redscale film
The complexity and unpredictability of film fascinates me. As a career software engineer, most of my time is spent in the world of computers. So, after clocking out for the day, I tend to gravitate towards things that are a bit more tangible. When I decided to try out photography, film immediately drew me in. A strip of silver halide crystals can hold extremely high-quality images? This technology has been around since the mid-19th century!? Color film can even exist!?!? Mind-boggling.
Not only did I want to become involved in each step of the film process, but I wanted to experiment with manipulating these steps to achieve interesting results. One of the first experimental things I tried was shooting redscale film.
How the redscale film effect works
If you’ve spent any amount of time browsing the web for interesting films to try, you may have stumbled upon any number of “redscale” films on the market. Lomography, CineStill, and many others have released their own versions of redscale films. At first, I thought this was a style of unique film emulsion, but I quickly learned that it’s actually much simpler than that.
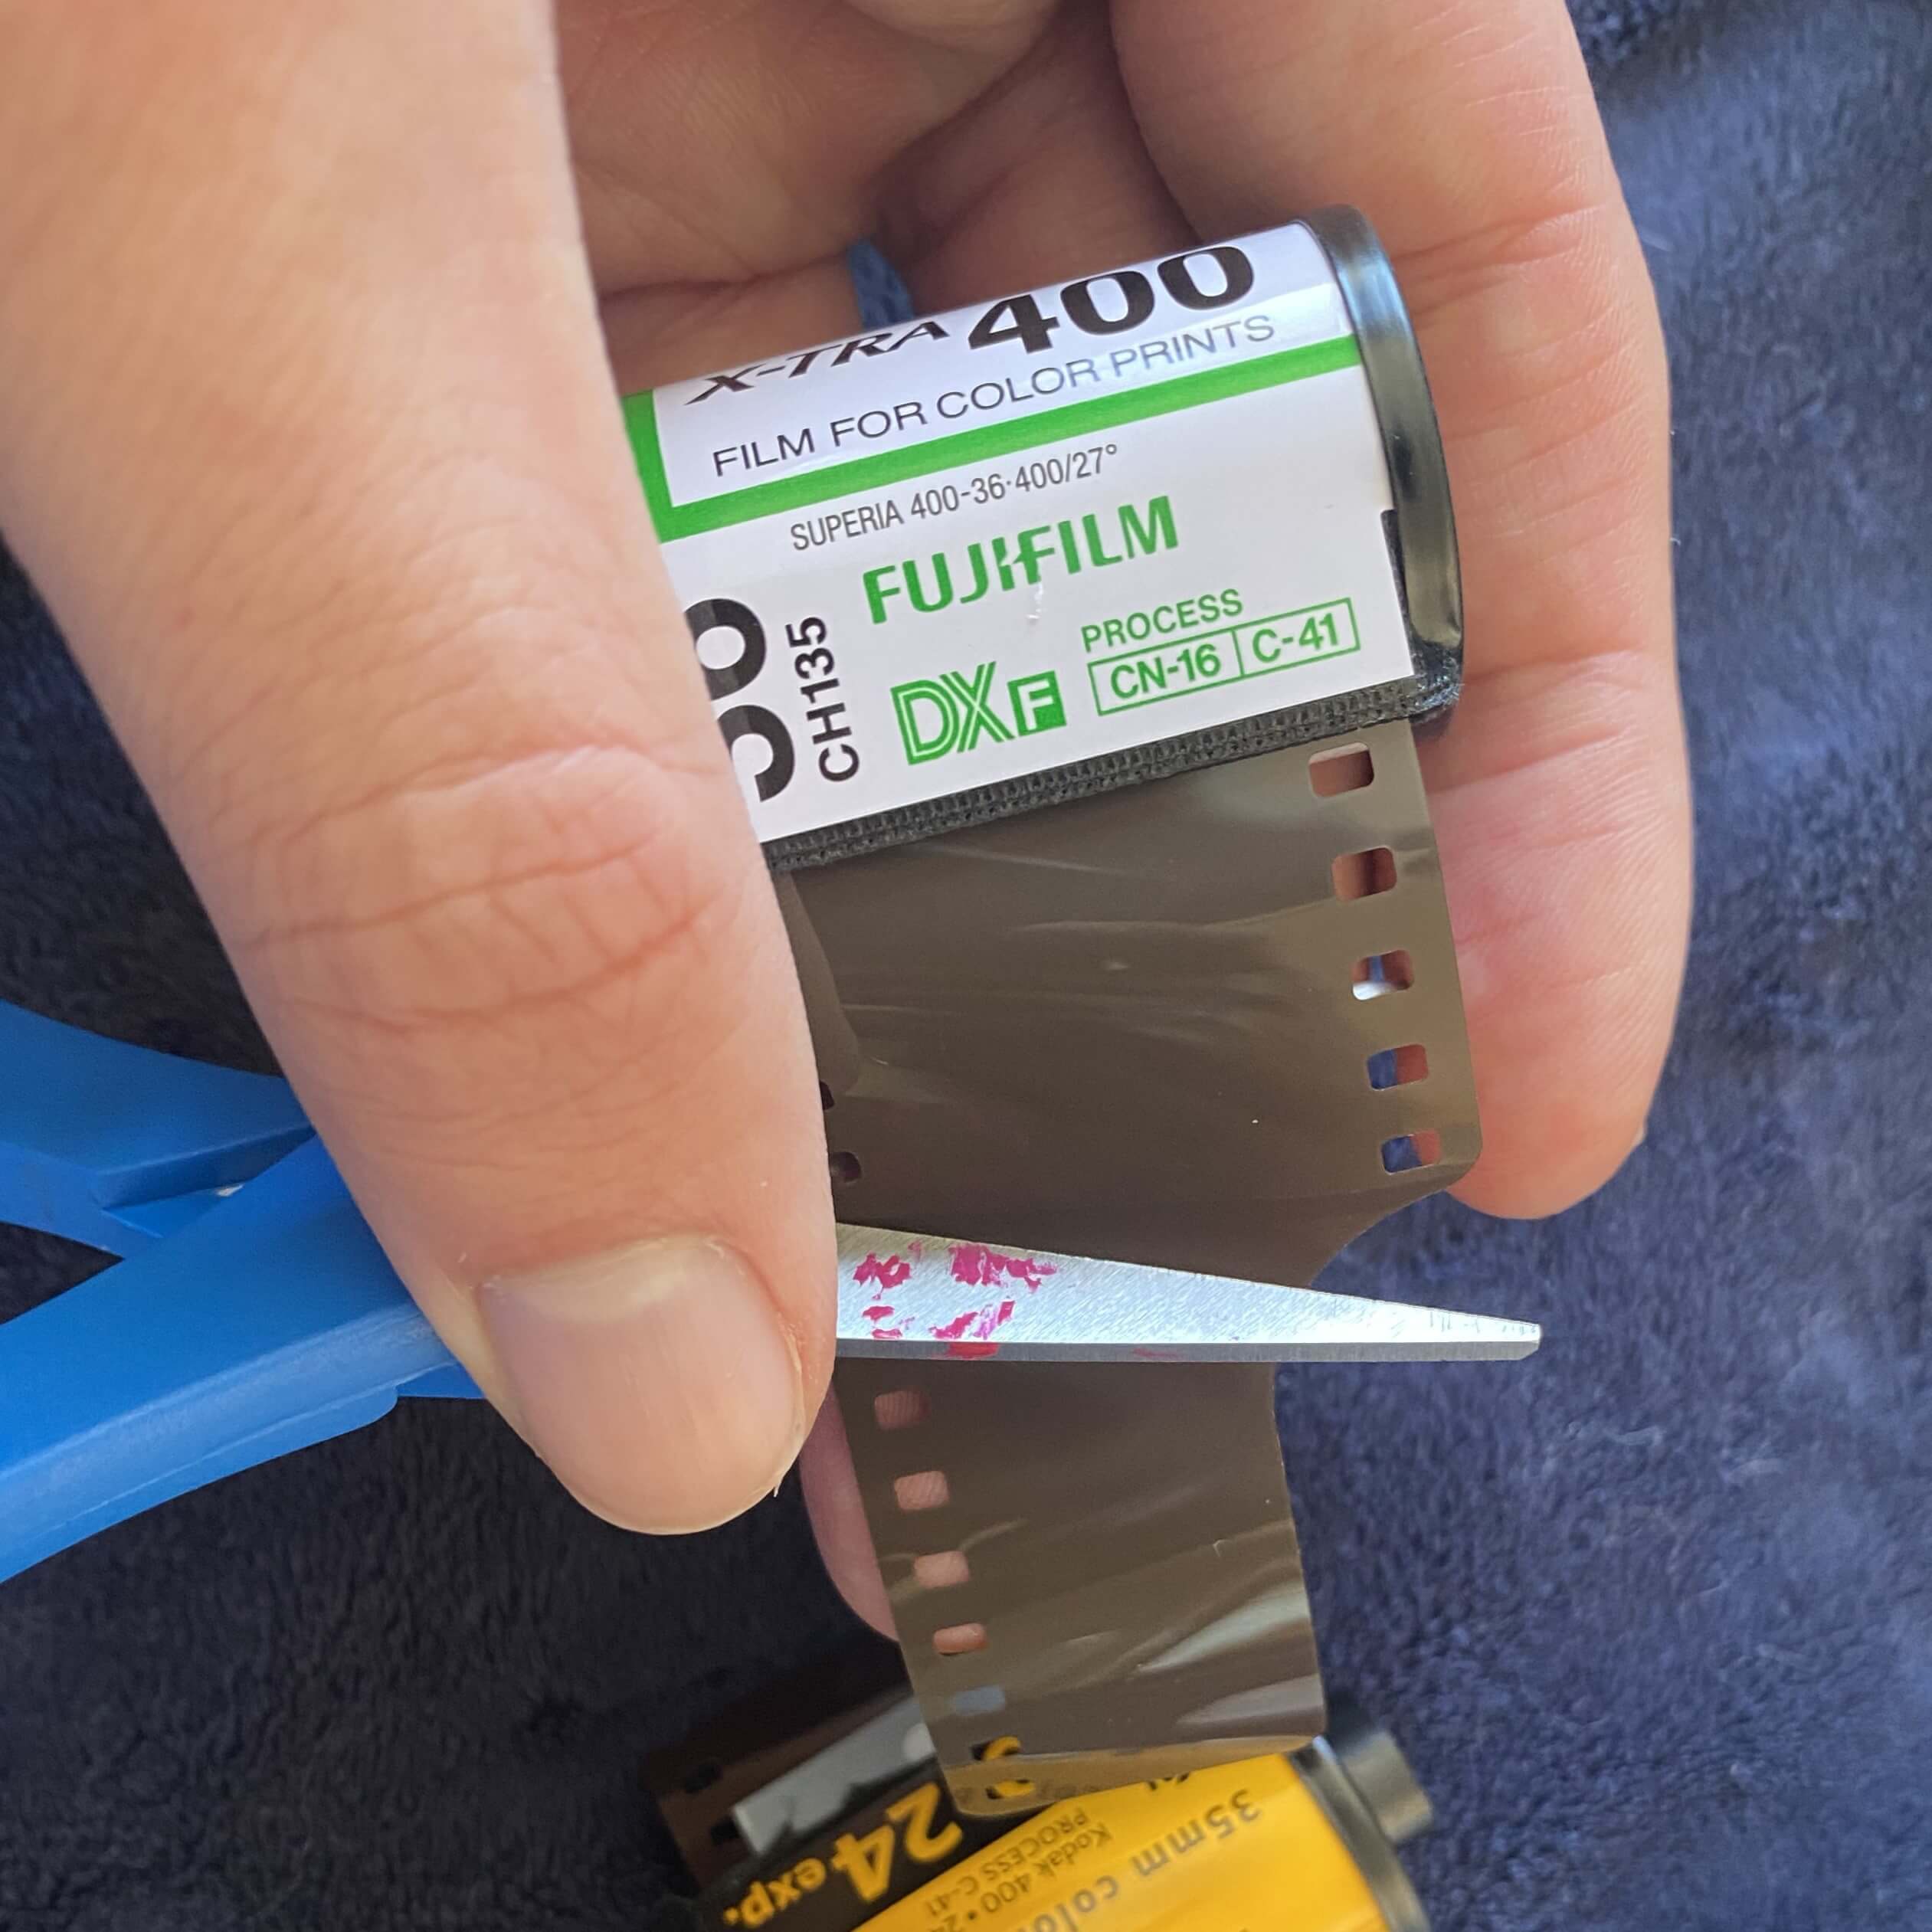
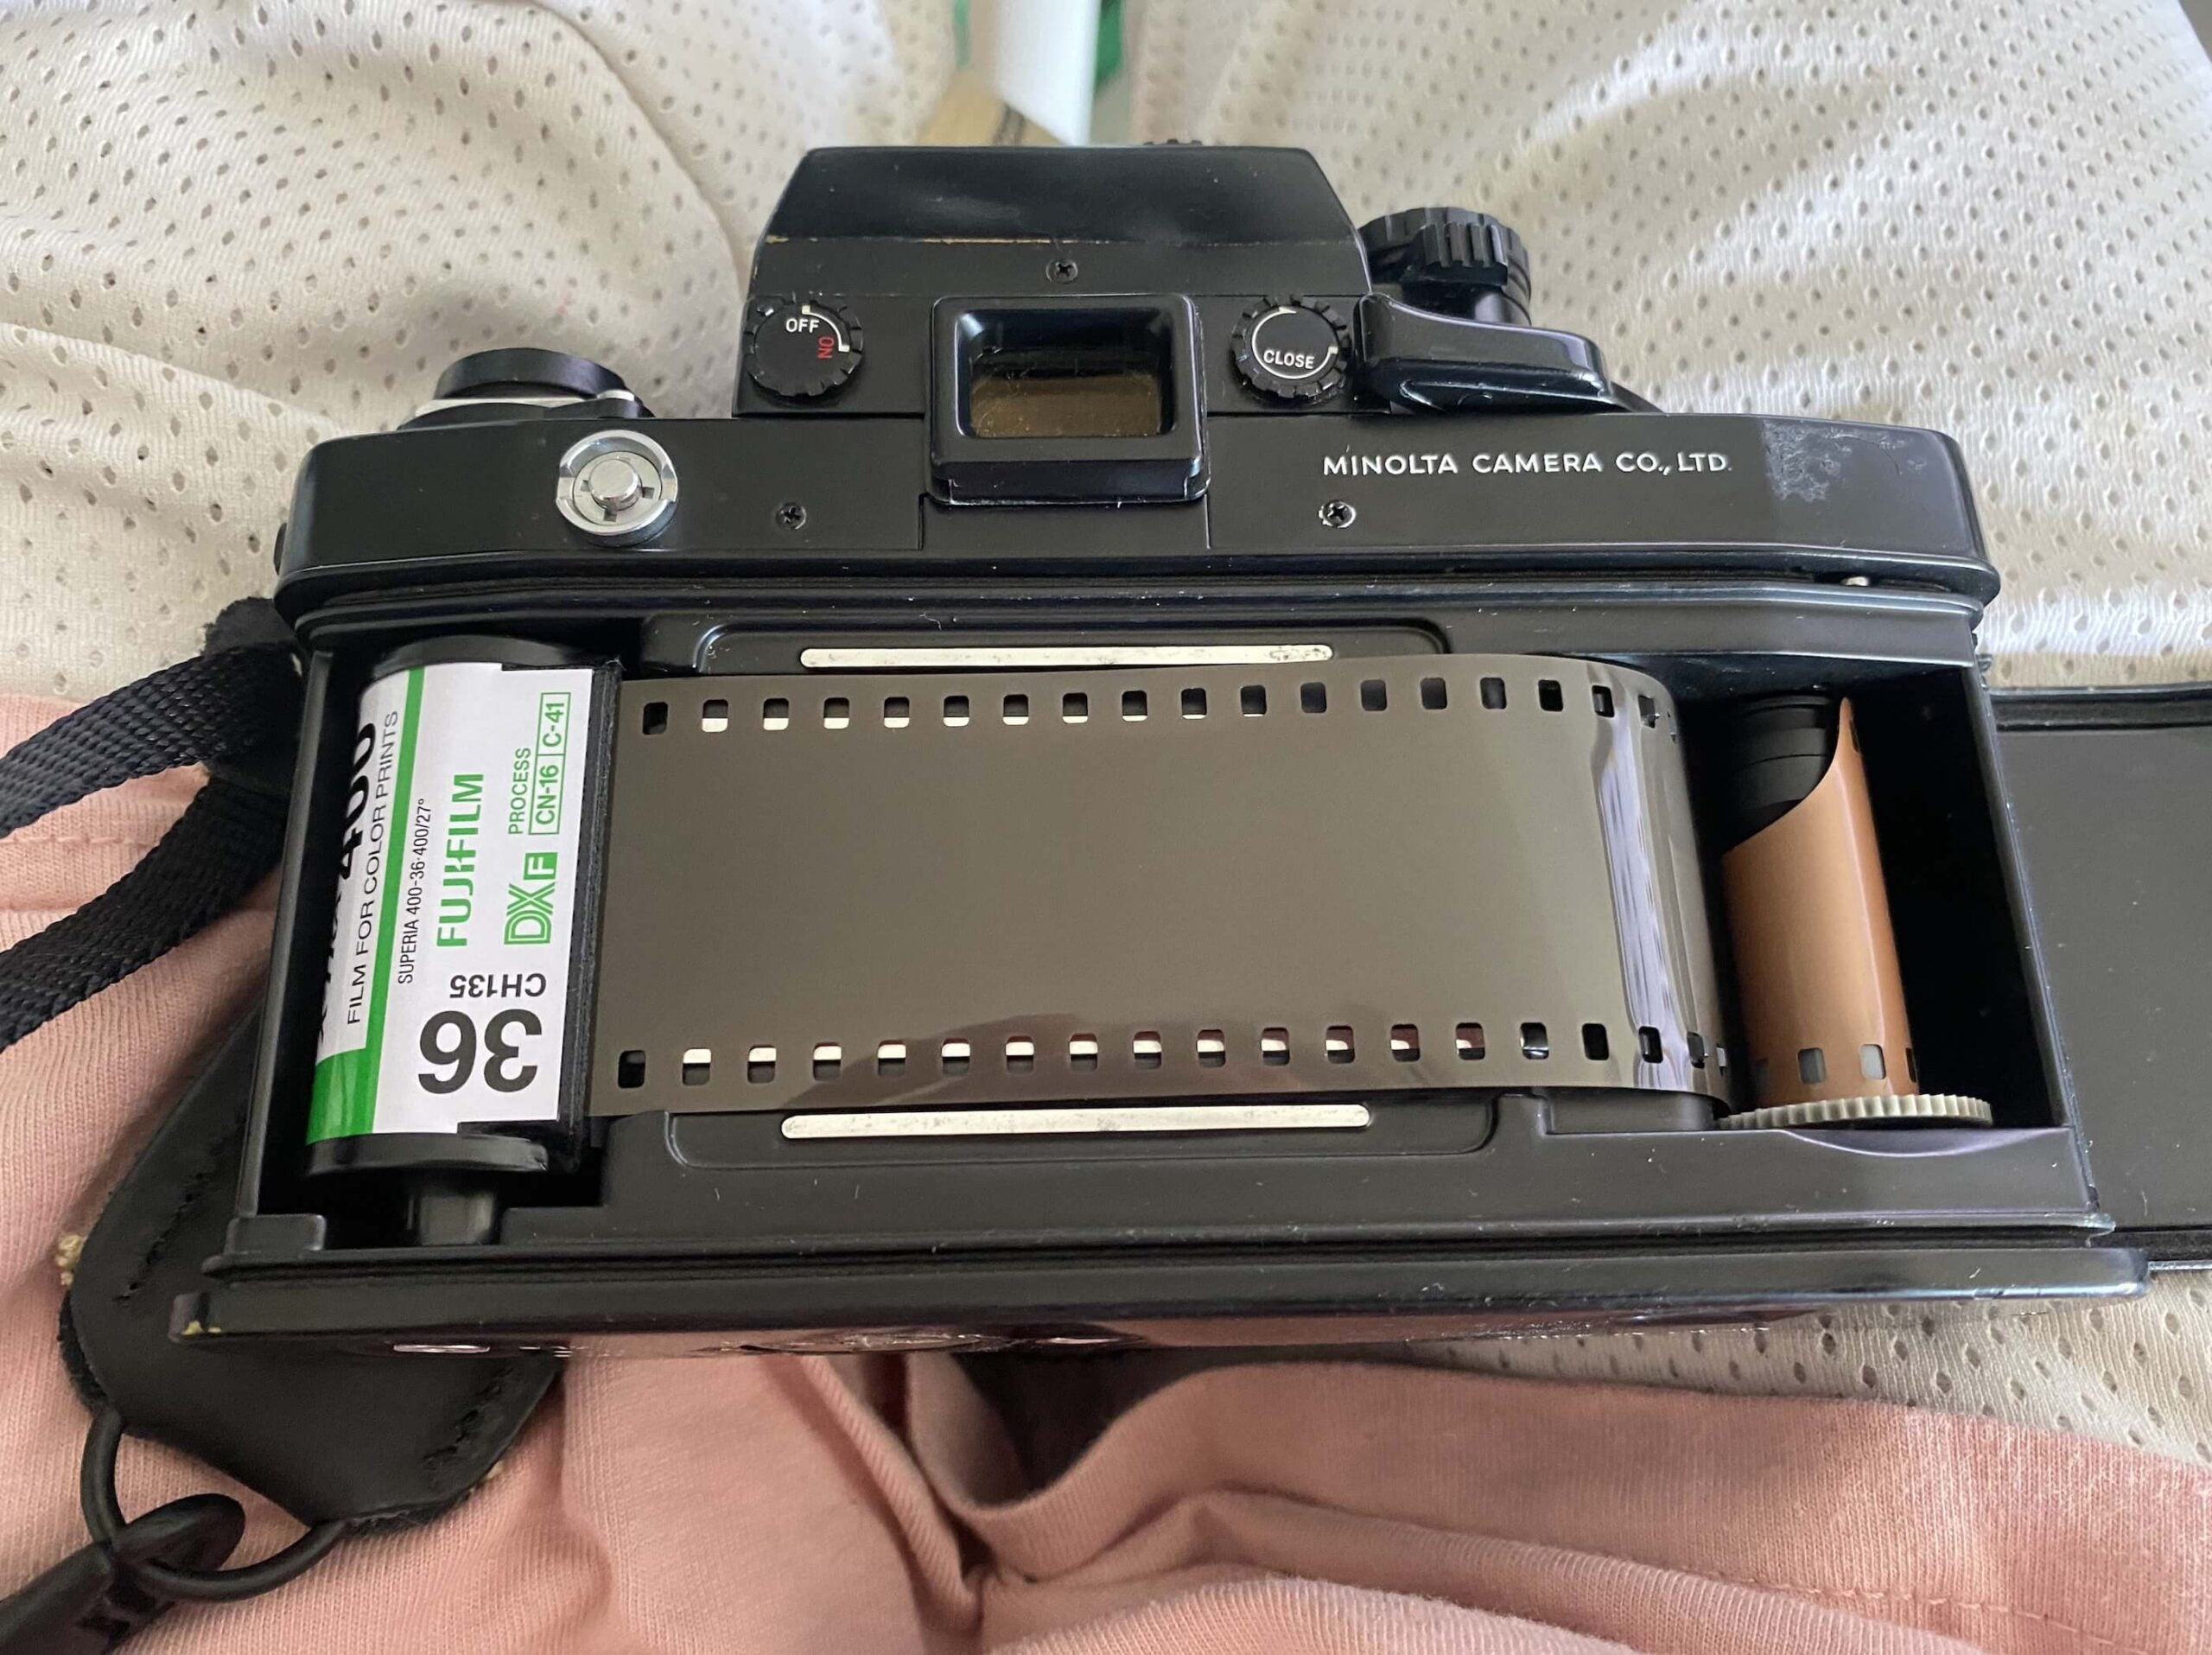
Redscale films are all created the same way–by rolling any regular color negative film into a canister the wrong way, so that when the film is exposed, light travels through the base side first instead of the emulsion side first.
The reason this works the way it does is because of how color film is structured. Simply put, color film consists of a series of photosensitive layers, each responsible for replicating a particular color. Typically, the red-sensitive layer is exposed to light after the blue and green light has been retained by their respective layers. But when you shoot through the wrong side of the film, everything happens in reverse. This results in the red-sensitive layer being by far the most dominant, leading to images with a strong red/orange/yellow cast. Read More...


